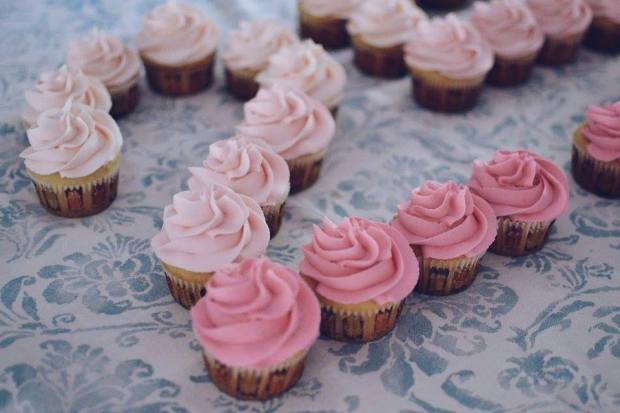
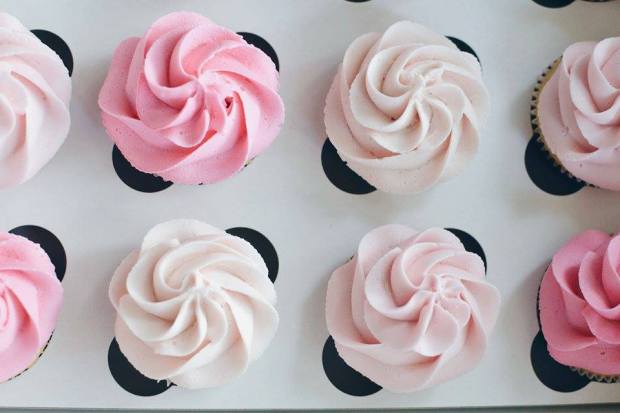
25th Anniversary Pink Ombre Cupcakes

11948116_10153126341971149_651747919_n

11944369_10153126341901149_654747435_n

11938017_10153126342036149_1444968497_n

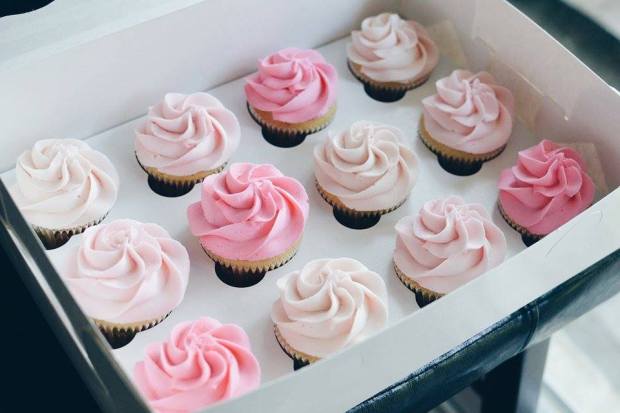
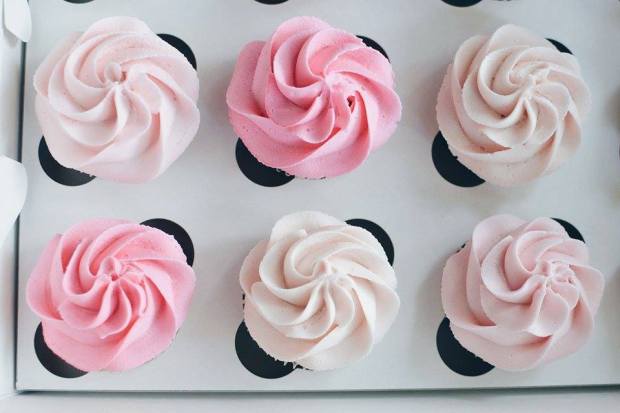
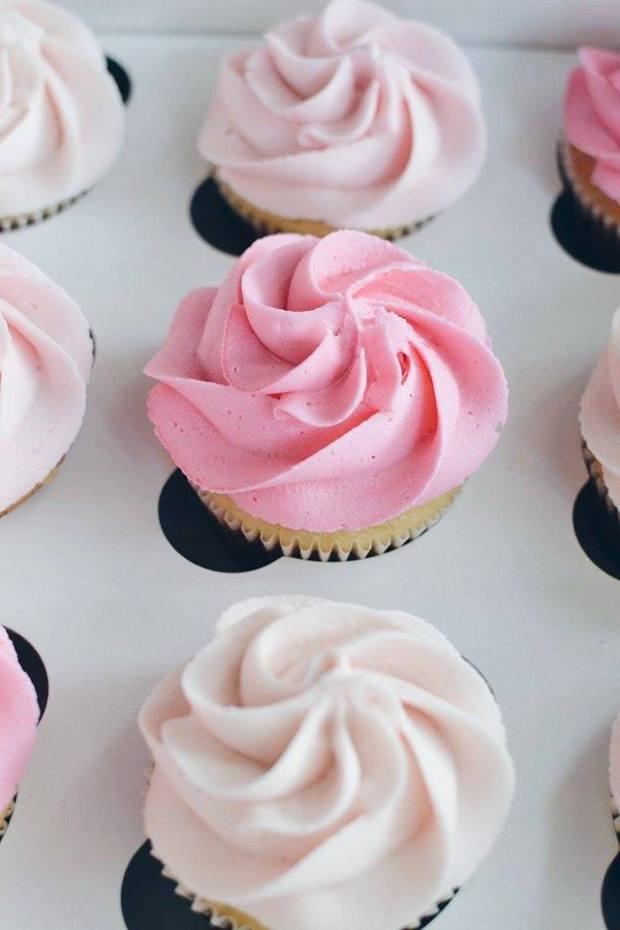
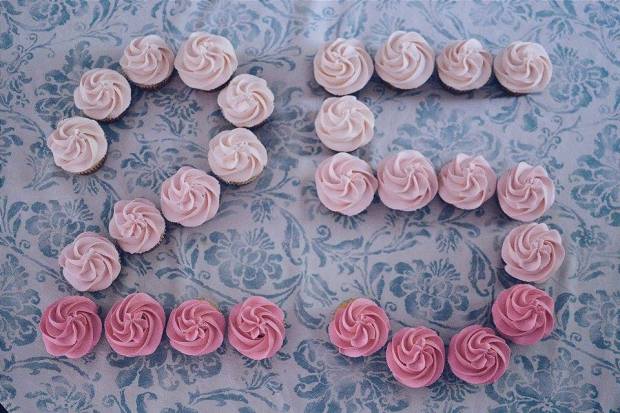
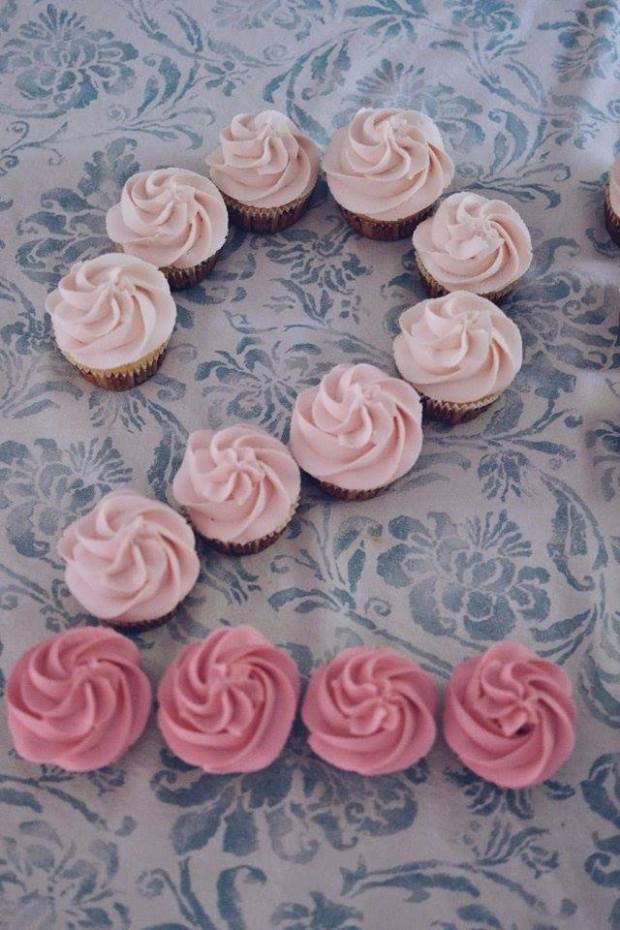
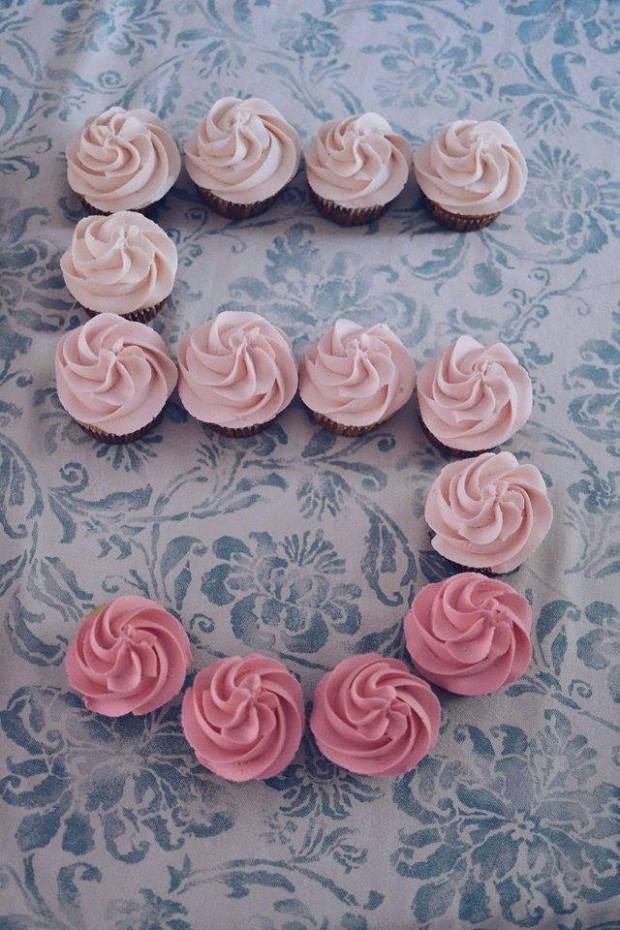
For a 25th anniversary I was asked to make 40 cupcakes that were the colours of my pink ombre rose cake. 28 of them were to be used to make the number ’25’ but in a pink ombre form (light pink to dark pink. Image is down below!)

I thought that was very clever, and I’ve never done anything like that before! Very cool.

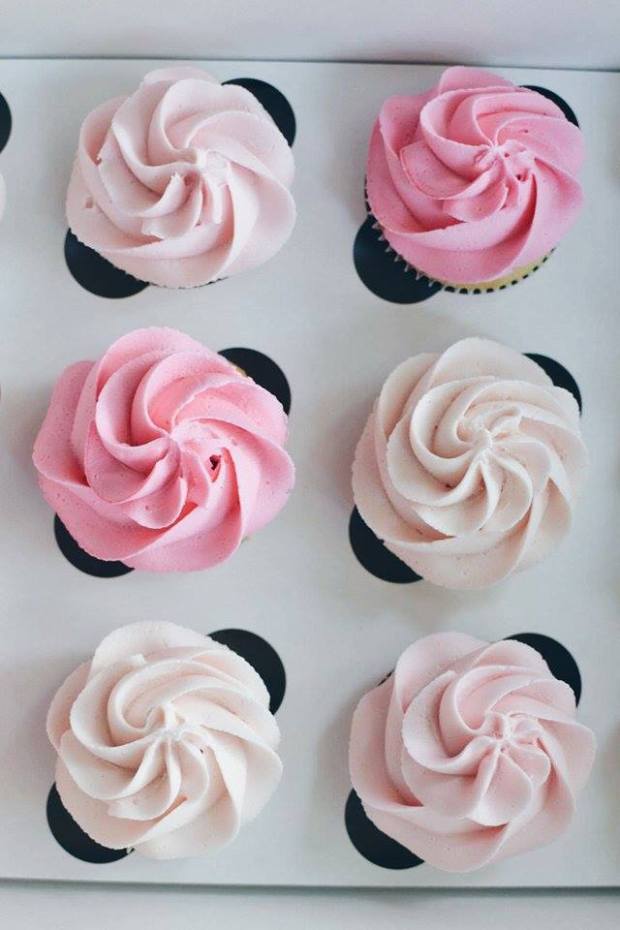
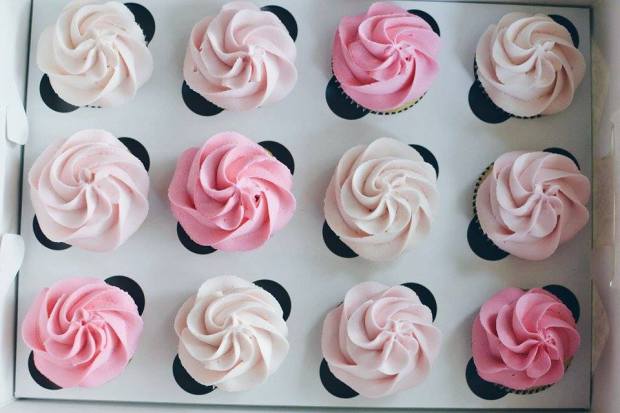
These cupcakes were just vanilla cupcakes with vanilla buttercream frosting (spilt up into 3 bowls for the 3 different shades of pink).

Hope you guys enjoy!

11940350_10153126342016149_1365873906_n

11944907_10153126341876149_495181556_n

11935197_10153126341846149_1104097113_n

11925665_10153126341866149_241441784_n

11944903_10153126342076149_534776378_n

10668659_10153126342066149_10859025_n

11945007_10153126341831149_469022094_n


Mother’s Day Cake: #2

11251538_10152874121266149_1464948184_n

11261468_10152874120941149_893445906_n

11261062_10152874121226149_255566379_n

11262254_10152874121316149_550641584_n

11245389_10152874120971149_1550576919_n

I had 3 Mother’s Day cakes to complete this past weekend – but surprisingly it wasn’t too bad. I’ve done these rose cakes so many times now, that it takes me about an hour to complete and have everything cleaned up (if I’m lucky! …. sometimes I can get pretty messy ….)

I completed this Mother’s Day Cake (twice! for two different people!) and then this one for one of my good friends (and co-workers). This one is a four layered cake, two layers of lemon, two layers of vanilla with a lemon buttercream (recipe down below) in between the layers and vanilla buttercream around the outside.

I filled the piping bag, one side with purple buttercream and the other with blue, and I piped out the roses and ta-da! That gave me the swirl effect.

I hope you guys had a lovely Mother’s Day and talk soon (with a post coming this weekend on a Minecraft cake I’m doing!)

Lemon Buttercream

Ingredients:

  • 1/2 cup solid vegetable shortening
  • 1/2 cup (1 stick) butter or margarine softened
  • 1 teaspoon clear vanilla extract
  • 2 tablespoons lemon juice
  • 1 teaspoon lemon zest
  • 4 cups sifted confectioners’ sugar (approximately 1 lb.)
  • 2 tablespoons milk

Directions:

  1. In large bowl, beat shortening and butter with electric mixer until light and fluffy. Beat in vanilla.
  2. Add lemon juice and zest. Beat well.
  3. Gradually add sugar, one cup at a time, beating well on medium speed. Scrape sides and bottom of bowl often. When all sugar has been mixed in, icing will appear dry.
  4. Gradually add milk; beat at medium speed until light and fluffy.

Social Media:

Twitter_logo_blueTwitter
instagram-icon Instagram
Facebook-iconFacebook
Pinterest-iconPinterest

11210263_10152874120911149_808643213_n-1

11121281_10152874121216149_1592740631_n

Mother’s Day Cakes: #1

Happy Mother’s Day everyone!!!

This was the first Mother’s Day cake I did – 4 layered vanilla and chocolate cake, with Nutella buttercream in between the layers (recipe below) and pink ombre vanilla buttercream roses on the outside.

11245171_10152871571656149_1334154960_n

11225956_10152871571516149_926531803_n

11208847_10152871571851149_945446167_n

11212407_10152871571576149_275443947_n

11256471_10152871571456149_379698036_n

Nutella Buttercream Recipe

Ingredients:

  • 1/2 cup butter, softened
  • 1/2 cup shortening
  • 3½ – 4 cups confectioner’s sugar, sifted
  • ½ cup Nutella
  • 1 tablespoon vanilla extract
  • 2 tablespoons half-and-half, heavy cream or whole milk

Directions:

  1. Cream together butter and shortening at the same time. Add the icing sugar one cup at a time.
  2. Add the Nutella.
  3. Add half-and-half, one tablespoon at a time until the buttercream has reached a consistency where it will hold it’s shape. Whip on high for another 30 seconds.
  4. Use immediately or cover and refrigerate up to three days. To use once refrigerated, slowly allow to reach room temperature and then beat on low speed until the buttercream is smooth before using.

I also made another one of these for another one of my friends, so in total I made two of the pink ombre cakes.

Tomorrow I will post my other Mother’s Day Cake I made, which is a purple and blue rose cake 🙂

Hope everyone had a lovely Mother’s Day, and talk to you soon.

Emma

Giant Pink Rose Cake

11165941_10152857058041149_49061248_n

11208900_10152857055631149_496199835_n

11185507_10152857055746149_448487378_n

11185857_10152857055841149_2004171323_n

11198943_10152857055921149_1325941873_n

I had an order to make a giant pink rose cake, that would feed 20+ people! My normal cakes are 12″ round, but for this cake I made a 14″ cake with 4 extra large layers… this cake was giant.

Like really big.

Really, really big.

But it turned out pretty, and I love the look of such beautiful shades of pink all thrown together – it reminds me of spring!

The inside was my regular fudge chocolate and french vanilla with vanilla buttercream in between each layer.

Hope you enjoy! xx

11195264_10152857055881149_1133481307_n

11185728_10152857055616149_758075093_n

11180197_10152857055906149_1411132930_n

Green Ombre Rose Cake with Meringues

961617_10152740960226149_1503376648_n 2

11009578_10152740960761149_384251737_o

11047119_10152740961301149_1983056400_n


11034724_10152740960561149_1261559186_o

11051453_10152740960901149_644418709_n

One of my oldest friends turned 19 today!!! And she wanted a green themed cake – so I made this 4 layered butter pecan cake, with vanilla buttercream. I made meringues (recipe will be down below) and added them on top, with gold sprinkles, pearls and edible gold sugar dust!

If you’re reading this Laura, happy birthday and I hope your year is filled with magic and wonderfulness! Can’t wait to see you soon.

Love you.

Ingredients

  • 4 egg whites
  • 304g of sugar
  • Pinch of salt
  • 1 teaspoon of vanilla

Directions

  1. With a stand mixer, fitted with a whisk attachment, begin whipping your egg whites. Start out slowly and then when big bubbles start to foam and it gets almost ‘soapy’ looking, increase the speed to medium-high.
  2. When it has gone really white, and the bubbles are much smaller – test it by lifting the bowl upside down and if nothing falls out then you’re ready to move onto the next step.
  3. Put it back on high speed. Add sugar in a spoonful at a time. Make sure to keep the mixer on while you’re doing this.
  4. Leave it mixing for 5 minutes.
  5. Turn off the mixer and check it by popping some of the meringue mixture onto your finger and rub it between your fingers, and if you feel any grains of sugar, mix it for a couple more minutes. The goal is to not feel any sugar when rubbing it between your fingers.
  6. Once it’s glossy and sugar-less, add the vanilla. Mix for a couple of minutes.
  7. To prepare the piping bag, open it up and fold down the sides. With a paintbrush and your food colouring, begin by painting stripes inside your piping bag, making sure the bag doesn’t cave in. Eventually you will have about 6 painted stripes on the inside of your piping bag.
  8. Fill your piping bag with your meringue mixture.
  9. Start piping your meringues onto a baking sheet lined with parchment paper.
  10. Once complete, bake your meringues at 200 degrees F for 30 minutes, or until the meringues can be easily lifted from the baking sheet.

11026693_10152740961346149_2008319321_n

Social Media:

Twitter_logo_blueTwitter
instagram-icon Instagram
Facebook-iconFacebook
Pinterest-iconPinterest

Pink Ombre Rose Cake

11040759_10152724115456149_2090046629_n

11020379_10152724115401149_1417610084_n

11042169_10152724115471149_1664376420_n

11035190_10152724115426149_156108373_o

Here’s my other cake I made yesterday – a pink rose ombre cake. If you haven’t seen my blue ombre cake I also made, feel free to check it out!

This was another really simple cake to make – 4 layers of red velvet on the bottom, with 2 layers of red velvet on the top. Decorated with buttercream, and then gold and pink sprinkles on the top with a cross/dove made out of fondant.

11039454_10152724115391149_1976818388_n

Social Media:

Twitter_logo_blueTwitter
instagram-icon Instagram
Facebook-iconFacebook
Pinterest-iconPinterest

Blue Ombre Buttercream Cake

Today can easily be defined as “What is happening.”

I had booked an order of 120 cupcakes, and two 2-tiered cakes all for the same day. My day went like this:

1. Woke up and cooked 5 batches of cupcakes (24 cupcakes per batch)
2. Let them all cool
3. Baked 6 red velvet cakes
4. Let them all cool
5. Realized I didn’t have enough eggs…went to the store
6. Began making 5 batches of buttercream for my 5 batches of cupcakes (3 vanilla, 1 cream cheese and 1 chocolate)
7. Decorated all my cupcakes
8. Realized I ran out of icing sugar…went to the store
9. Began cutting, stacking, icing my first cake
10. Decorated it
11. Realized I needed more piping bags…went to the store
12. Took a 20-minute break to eat chicken wings
13. Did the same for the second cake
14. Then spent 78 hours cleaning the kitchen

It was just exhausting. It took me just under 10 hours, breaks not included. Loved every minute of it, but real tiring! Also the kitchen in my house is really small so the space was very limited which made it tricky… and hot, my god was it ever hot in there. Every 2 minutes I was walking out on my front step to cool down (because it’s -20 out there) and now I think about it, anyone who was watching me must have enjoyed my outfit consisting of my purple polka dot shorts, pink socks, a cat t-shirt and my apron…oh dear.

Any-who, it was a super fun time and I really had a lot of fun (plus got to snack on extra cake/cupcake leftovers so that’s always a bonus hehe!)

Today I am showing you my one cake I made, for a Confirmation. Tomorrow I’ll post my other cake I made, following the kinds of cupcakes I made. Hope you guys enjoy!

11040808_10152724115651149_1104003800_n

11020403_10152724115666149_1692017654_n

11026731_10152724115691149_1741216601_n

11015969_10152724115626149_2119908273_n

All I did for this cake was bake 2 red velvet cakes, sliced them both horizontally and then used buttercream to stack them. I cooked another red velvet cake, but in a smaller pan and placed that on top.

I then iced my entire cake with a ‘crumb coat’ and let that sit for 10 minutes.

I made a double batch of buttercream and divided it into 4 bowls and died them all blue, starting with the darkest and ending with the lightest.

I used this tip and piped around, starting from the bottom and working to the top.

Then I just mixed gold and blue sprinkles and added them on top of the cake. I cut out a cross and a dove out of fondant, and stacked them on top, and ta-da!

11039426_10152724115751149_2146949408_n

Social Media:

Twitter_logo_blueTwitter
instagram-icon Instagram
Facebook-iconFacebook
Pinterest-iconPinterest

Turquoise Ombre Lemon Macaron Cake

10984719_10152696329561149_233902902_n

One of my good friends Gab asked me if I could make her a cake for her Mom’s birthday, and she specifically wanted a turquoise ombre cake with lemon macarons, so this is what I did!

In the middle there are 4 layers of french vanilla and lemon cake with buttercream in-between the layers. On the outside I did a thin coat of buttercream and let that harden up for 10 minutes or so. I then made a second batch of buttercream and divided it into 4 different bowls. Starting with the darkest and finished with the lightest (which was the white).

I unfortunately didn’t have a turquoise food colouring so I started with a blue and added a bit of green. There is more blue in turquoise, so for every 2 blues there’s 1 green. Be careful when you’re going lighter… you don’t want too much of the blue or the green!

On the top I placed my lemon macarons and ta-da! There you have it.

Hope everyone had a lovely Valentine’s day yesterday.

Talk to you soon!

Emma


10967090_10152696329846149_1427647030_o

10997966_10152696329781149_1135088007_o

11002451_10152696329711149_1012916671_o

10833779_10152696329531149_1521860795_n

11001061_10152696329481149_1229264211_o

11001271_10152696329666149_995343485_o

Social Media:

Twitter_logo_blueTwitter
instagram-icon Instagram
Facebook-iconFacebook
Pinterest-iconPinterest

Pink Ombre Macaron Cake

My family and I celebrated my mom and Uncle John’s birthday this weekend. They both share a  birthday in January, so we always combine the two and celebrate both at the same time!

John’s favourite cake is lemon, and my mom’s is chocolate so I combined those and made a 4 layer cake, both lemon and chocolate. John also loves raspberry, so I made a raspberry filling (recipe down below) and put that in-between the layers along with a layer of my buttercream.

To create the look of the cake, all I did was make a double batch of buttercream and divided it into 4 bowls. I put a small drop of Wilton’s Red Food Colouring into the first bowl, and increased my amount each time.

Then I piped with Wilton’s 126 piping tip, starting at the bottom of the cake with the darkest layer and worked my way up!

Hope you guys had a lovely weekend!

10953890_10152657468326149_212286222_n

10952231_10152657468496149_438022579_o

10947540_10152657468466149_2010973781_n

10952120_10152657526631149_874978936_o Here’s what the inside looked like!!

RASPBERRY CAKE FILLING

Ingredients:

  • 2 12 ounce packages of frozen raspberries (with no syrup)
  • 1 1/3 cups water
  • 1 1/2-2 cups granulated sugar (I used 1 1/2 and it was very sweet, so keep that in mind!)
  • 2 tablespoons of lemon juice (optional)
  • 5-6 tablespoons of cornstarch dissolved in 1/2 cup of water

Directions:

  1. In a saucepan combine the raspberries, water, sugar, and lemon juice.
  2. Bring to boil and simmer for 15-20 minutes or until the raspberries have broken down.
  3. Remove the mixture from the heat and strain with a fine mesh sieve. Return the strained mixture to the heat.
  4. Dissolve the cornstarch in 1/2 cup of water.
  5. Whisk the mixture into the raspberry mixture.
  6. Bring the mixture back to a boil and simmer for 5 more minutes, stirring occasionally.
  7. Remove from heat and cool completely, stirring every once in a while (I transferred my sauce into another bowl and stuck it in the fridge to help speed the cooling process).
  8. It will begin to thicken like a jelly, so make sure you keep an eye on it and stir it often for easier spread on the cake.

10950291_10152657468546149_524851001_o

10952060_10152657468451149_2020780533_o


Pink Macaron Ombre Cake!

Image

Processed with VSCOcam with hb2 preset

1402782007.428228.IMG_6548


Last night I made this ombre cake for my friend Emma’s 18th birthday. I added raspberry and vanilla macarons on top, because she loves them! And an ‘E’ on the top three macarons for her name Emma.

On the inside is chocolate and vanilla alternating, with buttercream between each layer.

My next cake, I want to make the actual cake itself ombre, with maybe a purple colour and then purple buttercream ombre roses on the outside!

Anyways, hope you guys enjoyed this!

Have a good weekend!